
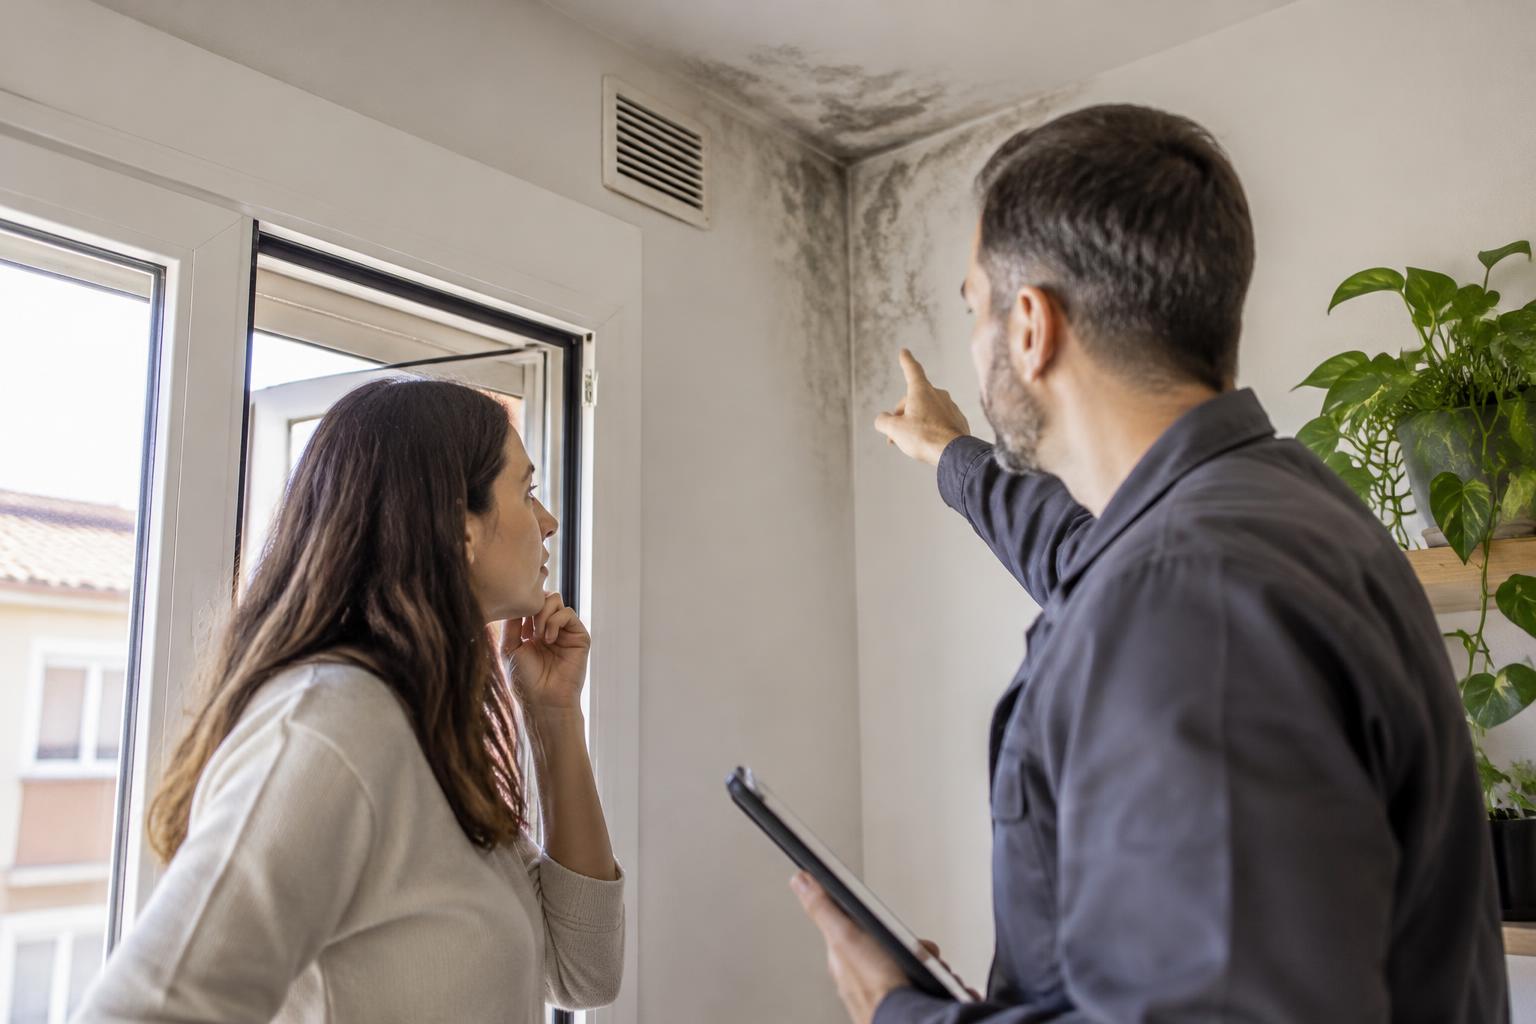
Condensation damp: how to identify the signs and request a diagnosis
How to identify signs consistent with condensation in photos and in the home, what to check before calling in a technician, and how to request a useful diagnosis without confusing it with a leak or a communal fault.
When stains, mould or misted-up glass appear, it is tempting to conclude straight away that it is condensation damp. However, from photos or a quick visit it is not always possible to diagnose with certainty. The most sensible approach is to treat these signs as an initial guide and ask for a technical diagnosis that rules out other causes, such as leaks, rising damp or inadequate ventilation.
This article is intended for homeowners who want to distinguish signs, organise the information and know which details it is worth giving the technician. It does not replace a professional inspection or allow a definite cause to be established from images alone.
What signs may point to condensation
Condensation usually appears when the indoor air has a high moisture content and meets cold surfaces. For that reason, in a home the symptoms tend to concentrate in specific areas and recur in cold spells or in rooms with poor air renewal.
1. **Black or greenish mould in corners, ceilings, frames and joints**.
2. **Windows habitually misted up**, especially in the morning.
3. **Blown or peeling paint** in cold corners.
4. **A stale or damp smell** without any visible leak.
5. **Drops on windows, mirrors or cold surfaces** after cooking, showering or drying clothes.
These signs do not on their own prove that condensation is the cause, but they do provide a strong indication when they are concentrated on thermal bridges, external corners, behind furniture pushed against the exterior wall, or in bathrooms and kitchens with poor ventilation.
How to distinguish it from other damp problems without over-diagnosing
With photos, the best strategy is to look at the pattern. Condensation usually leaves a mark linked to the use of the home and to cold areas. By contrast, a leak tends to follow more irregular paths, start from a higher point or appear after rain, damage or problems in the installations.
Before assuming the cause, check these aspects:
1. **Location of the stain**: is it in a corner, ceiling, exterior wall or around a window?
2. **When it appears**: does it get worse after showers, cooking or cold nights?
3. **Nature of the damage**: is there superficial mould or is the finish damp deep down?
4. **Relationship with furniture**: is there a wardrobe against an external wall with no air gap?
5. **Actual ventilation in the room**: is it aired daily or kept closed for many hours?
If the damp is concentrated at the bottom of the wall, progresses in bands or coincides with heavy rain, it is best not to assume condensation without more. If, on the other hand, the problem appears on cold surfaces and in areas with little air circulation, the condensation hypothesis becomes more likely.
### Practical sign for photos
When sending photos to a technician, try to show:
- the overall view of the room,
- the distance between the furniture and the wall,
- the close-up of the stain,
- the nearby window or enclosure,
- and, if there is one, the ventilation point.
That way, the professional does not have to guess the context.
What to check before requesting a diagnosis
A useful diagnosis starts not with the stain, but with the way the home is used. The more information you provide, the easier it will be for the technician to distinguish one cause from another.
1. **Check daily ventilation**: open windows at times of lower outdoor humidity whenever possible, and see whether the problem improves.
2. **Review vapour-producing habits**: long showers, drying clothes indoors, cooking without extraction or heavy use of humidifiers.
3. **Look for obvious thermal bridges**: cold corners, pillars, window surrounds and shutter boxes.
4. **Note when it gets worse**: winter, cold nights, rainy days or after using certain rooms.
5. **Check whether there are symptoms in other homes or communal areas**: if the problem affects several flats, coordination with the community may be needed.
Practical tip: keep a small log with dates, rooms and photos. There is no need to overcomplicate it; a simple chronological note helps the technician a great deal.
How to request a technical diagnosis that is actually useful
For the visit to be useful, do not simply ask to “see whether it is condensation”. Ask for a check aimed at identifying the cause and suggesting measures that match the real cause.
You can ask the professional to inspect, for example:
- surface moisture and possible cold spots,
- room ventilation,
- mould in corners or behind furniture,
- any visible leaks,
- the condition of windows, joints and enclosures,
- and whether the pattern observed fits condensation, a leak or a combination of factors.
If the property is part of a community and the issue may be linked to communal elements, remember that the Ley de Propiedad Horizontal requires the owner to keep their flat or premises in good condition without harming the community or other owners, and also provides for the owner to permit necessary repairs to the property: article 9 and article 10 of Ley 49/1960. That legal basis is relevant when the technician finds that the origin is not within your home, but in a communal part or in work that must be coordinated with the community.
If the diagnosis points to insufficient ventilation, the focus will not be immediate building work, but correcting habits and improving air renewal. If the source is a leak, then the treatment changes completely and it is not advisable to persist with “anti-condensation” solutions that will not solve the problem.
Common mistakes to avoid
1. **Painting over it without diagnosing**: it may hide the sign temporarily, but the problem comes back.
2. **Buying dehumidifiers as the only solution**: they may help, but they are no substitute for a diagnosis.
3. **Confusing mould with the cause**: mould is a possible consequence, not the cause.
4. **Separating the photos from the context**: an image without a reference window, facade or furniture can lead to wrong conclusions.
5. **Attributing everything to ventilation**: sometimes there is a combination of inadequate ventilation and a thermal bridge, or a leak that is mistaken for condensation.
What to do from today if you suspect condensation
1. **Photograph the problem with context**.
2. **Note when it appears and under what conditions**.
3. **Move furniture away from cold walls to see whether it improves**.
4. **Ventilate regularly and in a controlled way**.
5. **Ask for a technical diagnosis before carrying out work or spending on generic solutions**.
If you need to assess the situation in an orderly way, you can request an indicative review in valoración online de vivienda en Madrid. It is not an official valuation, but it can help you prepare the case and see whether a visit is advisable. And if you would rather explain it directly, you can do so via contact.
The key is not to rush: with photos, ventilation, humidity and technical judgement, a great deal can be clarified, but a proper diagnosis must confirm the cause before deciding on the solution.